Diy live battle map for d&d and other table top games!

Dungeons and Dragons (and other roleplaying table top games alike) are beloved by the nerd community. I have been playing D&D as well as other board games on and off for years but one project I’ve always wanted to build is a live battle map to display custom animated maps and scenes for various games. I got the idea from other folks in the community who have created some incredible D&D board game tables
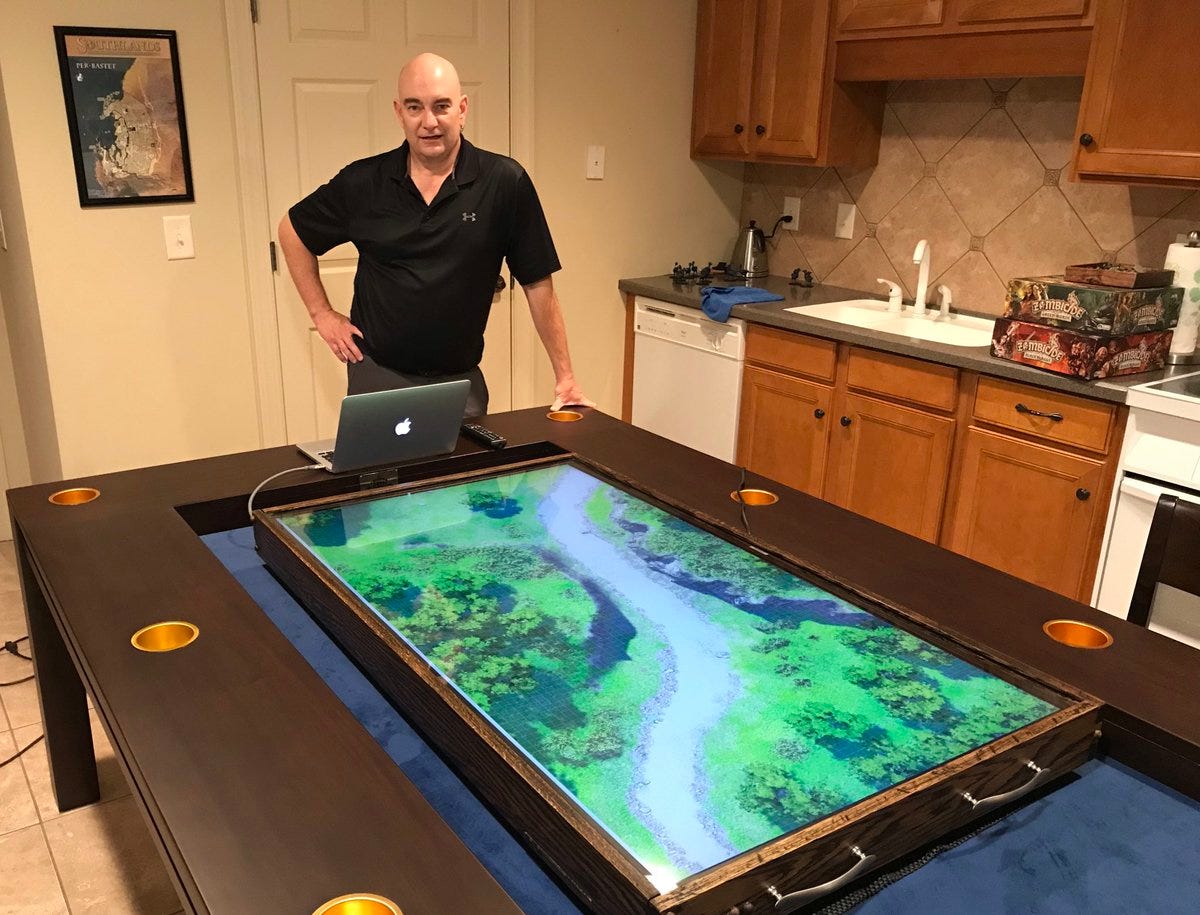
Some folks have even gone as far as to mount a projector and project a large map for their games. As an AV/IT Nerd obviously this peaked my interest. I had to build one.
As much as I love the polished look and feel of a dedicated board game table with build in screen, cupholders, drawers..etc, I just don’t have that kind of space or money to be able to build what I’d want. Instead, I focused on a more portable option. Thankfully, I had an older 32” TV laying around the house that would be perfect for this project.
Step 1: Design
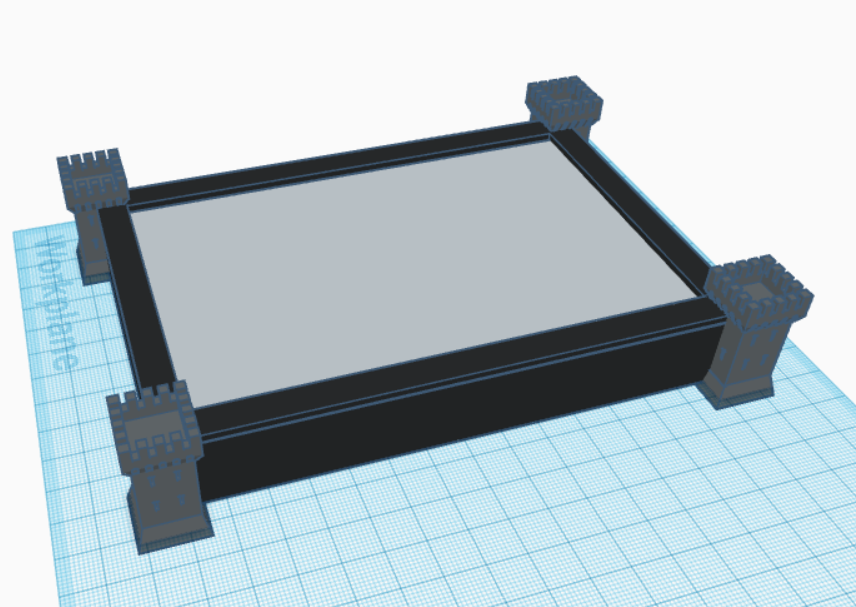
For this project, the concept was simple. I made a basic sketchup in TinkerCAD.
Old 32” TV + basic wooden enclosure + power /AV adapters = Tabletop Map Awesomeness
I had some old door framing trim in the garage that I was able to use for this project, but you could easily use 1x4 or 1x6 lumber for this project depending on the thickness of your TV. My TV was older and thicker in depth so I opted to have the frame be a bit deeper to fit everything in.
I was able to rely on my trusty MonoPrice Select Mini V2 3D printer to print a number of parts for this project as well. One future addition I am considering is adding the 4 corner Castles as shown in the picture above, but its only decorative.
Step 2: Assembly
There are a couple ways to go about mounting the TV into the enclosure. I’ve seen designs where the fully assembled TV/Screen simply sits in the table as well as ones where you gut the TV from its plastic enclosure. Due to the size of my TV, I opted for the second. I carefully unscrewed the TV screen, video board, power board and other components from the plastic TV frame.
When you are taking apart electronics it is always a good idea to take as many pictures as you can of how everything is connected and goes together. Trust me, I have made this mistake many times. Take the time and document it before you rip it apart, future you will thank you.
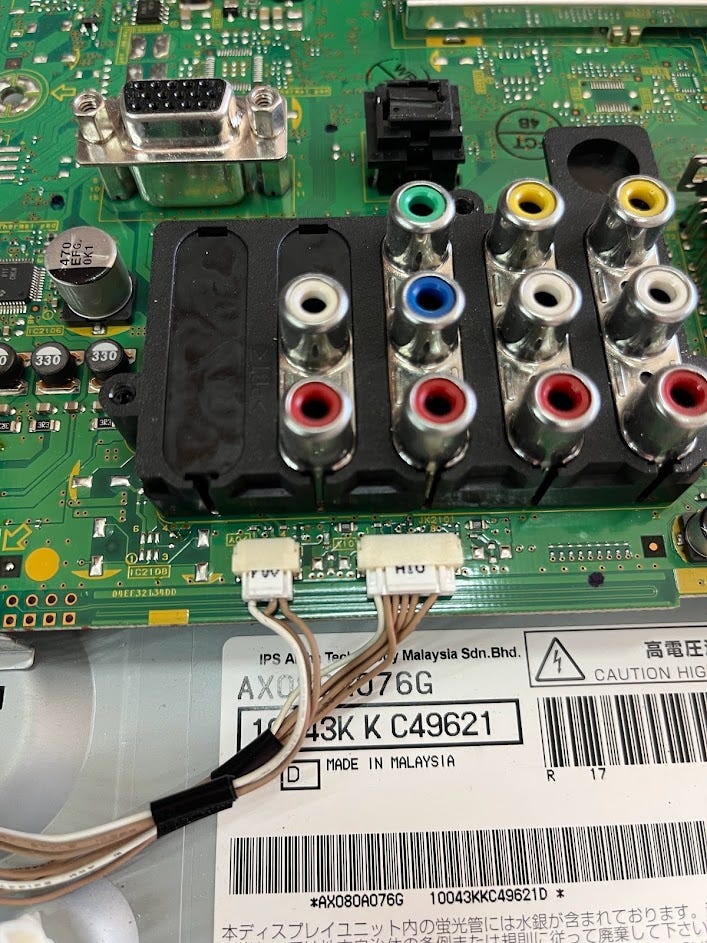
NOTE: please PLEASE **make sure you do not work on TV’s or electronics while they are powered. When you are working with TV’s and other large appliances be very careful. There are certain components that if improperly handled can cause **serious harm. If you are not comfortable with these tasks, I would encourage you to simply place the TV in the enclosure without taking it apart.
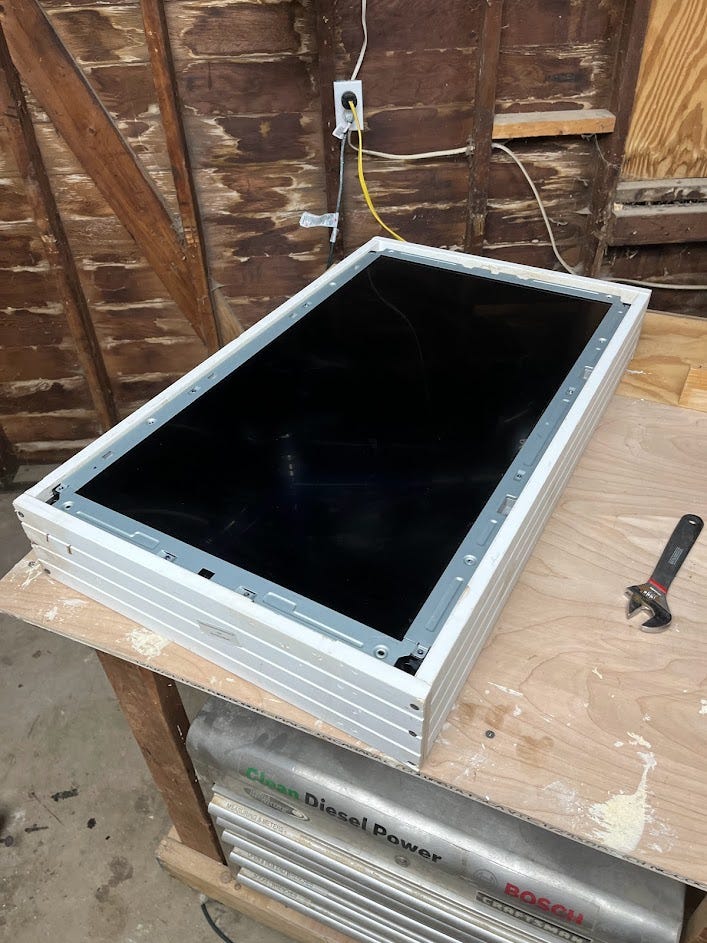
To assemble the frame I measured out the various dimensions for the frame according to the measurements of my 32” screen. Because I used the door trim, there was a slot on the one side that worked perfectly as a place for the screen to rest on inside the frame. If this is foreign to you, check out tutorials like this one. There is a TON of resources online for building basic frames. If you have saw, a drill, and a tape measure, you can do it!
With everything cut to size, I was able to glue up and nail it all together with some woodglue and brad nails to hold everything in place. If you have them, clamps are also helpful here to hold everything snug while the glue sets.
I didn’t get pictures of it, but after the main frame was assembled I secured the top frame to cover the metal edges of the screen. Then I worked on securing the various TV components and boards to the rear side of the screen/frame.
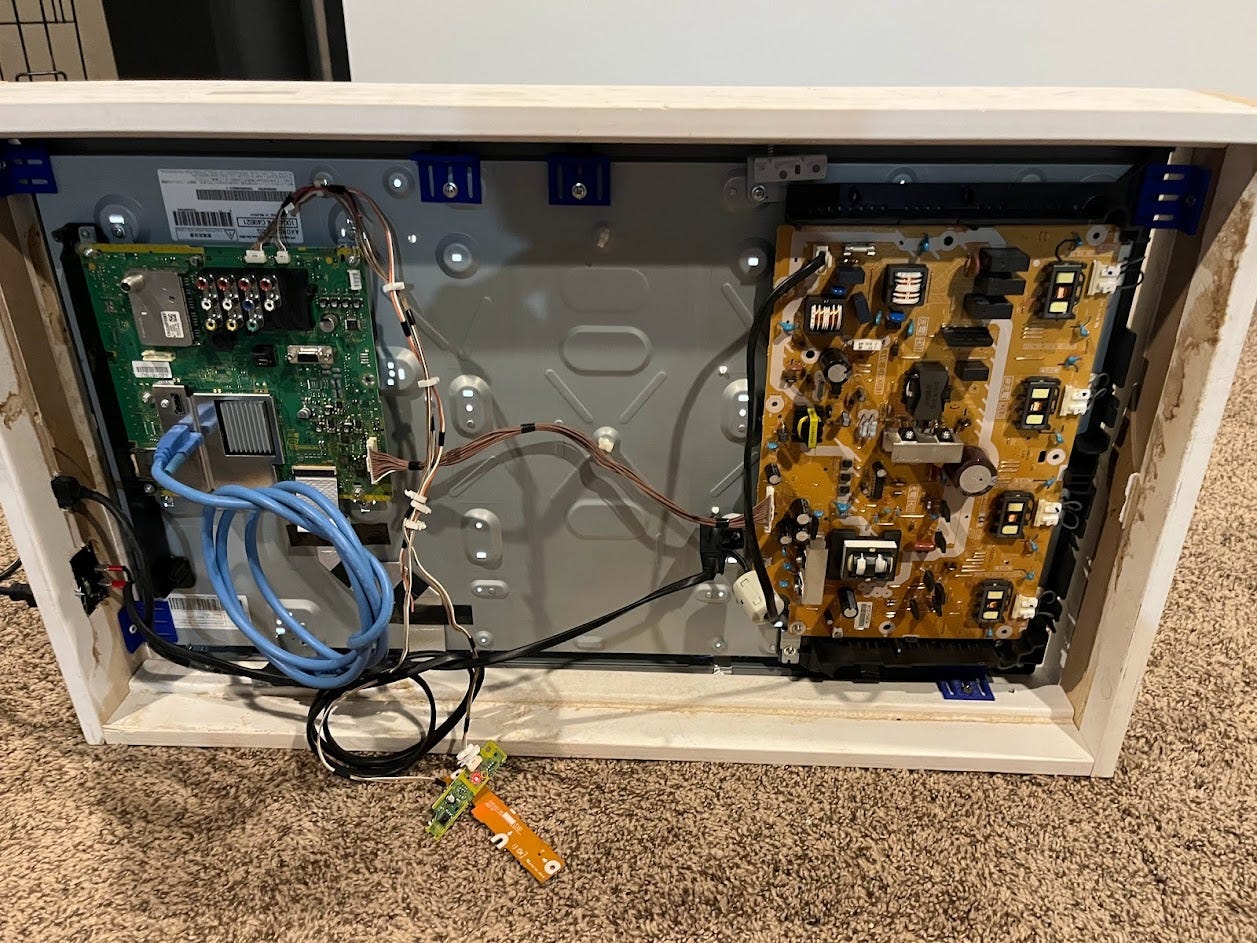
As aforementioned, I was able to design and print several basic mounts/clips to help secure the screen in to the frame on both top and bottom. Since this enclosure was designed to be portable, I don’t need anything rattling around or god forbid, the whole screen falling out during travel.
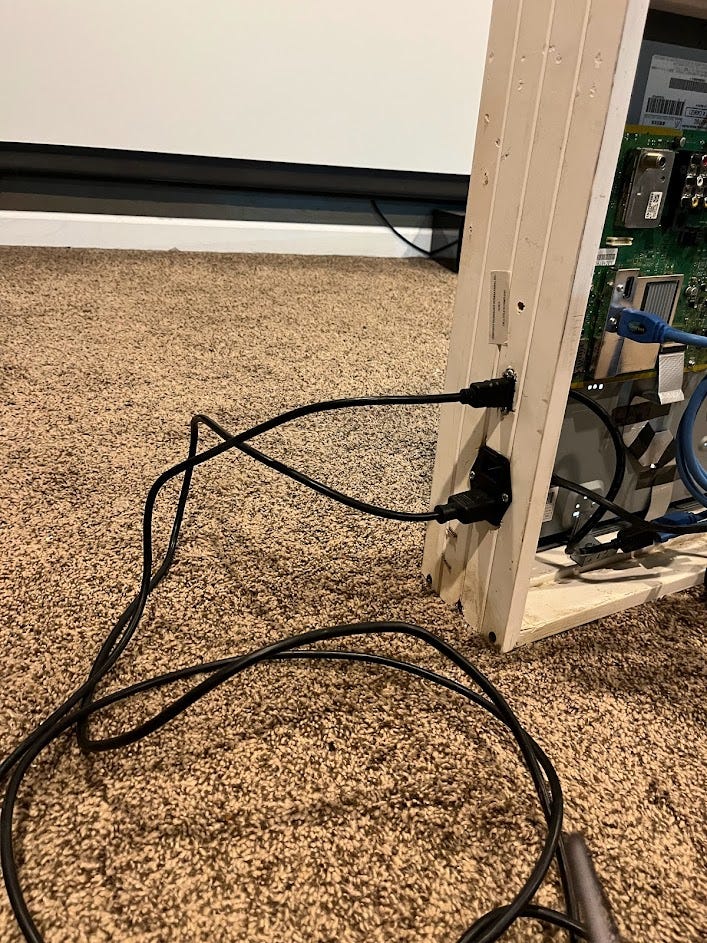
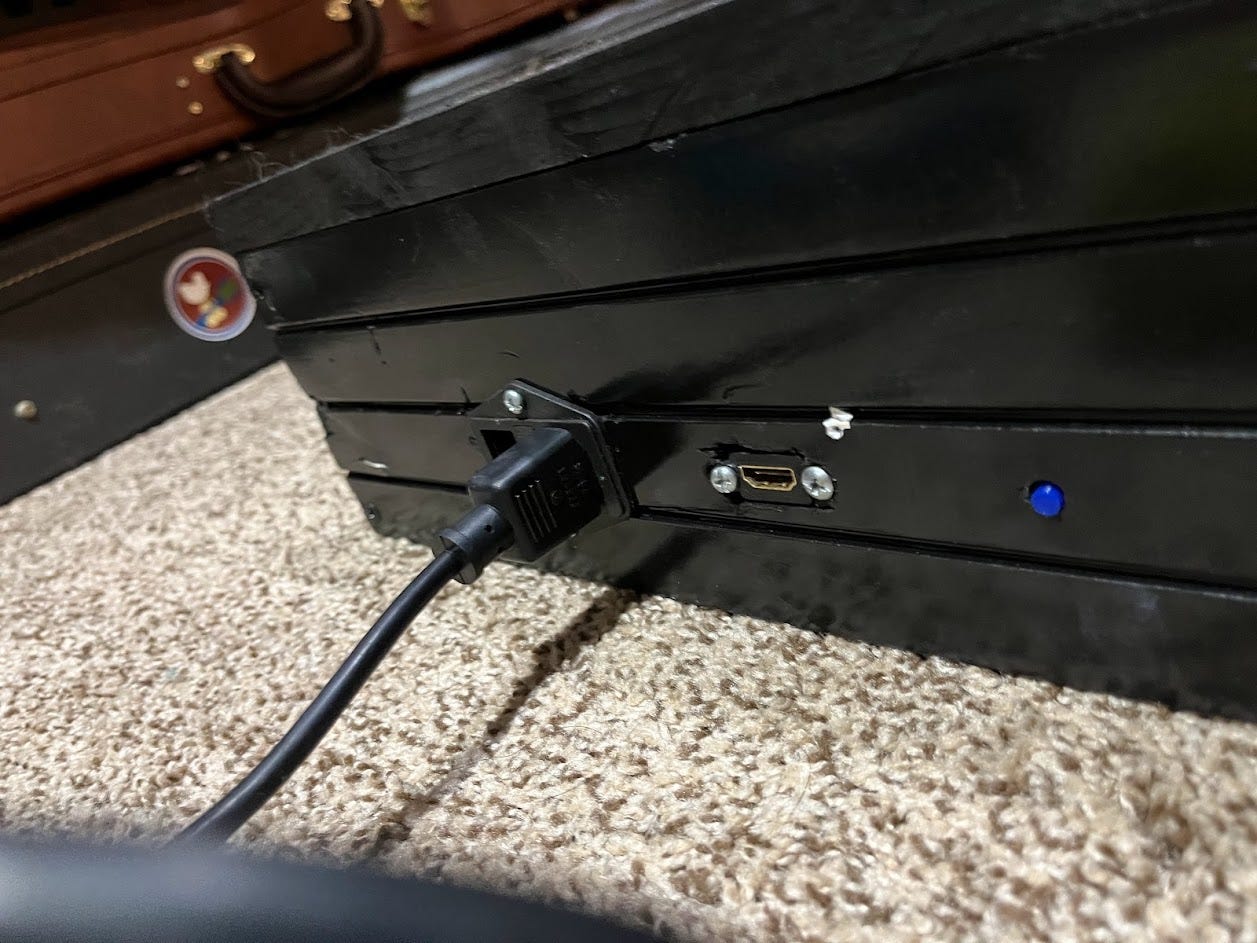
I used a HDMI pigtail to add an HDMI port to the outside of the frame as well as an IEC power cable port to supply power to the TV mains.
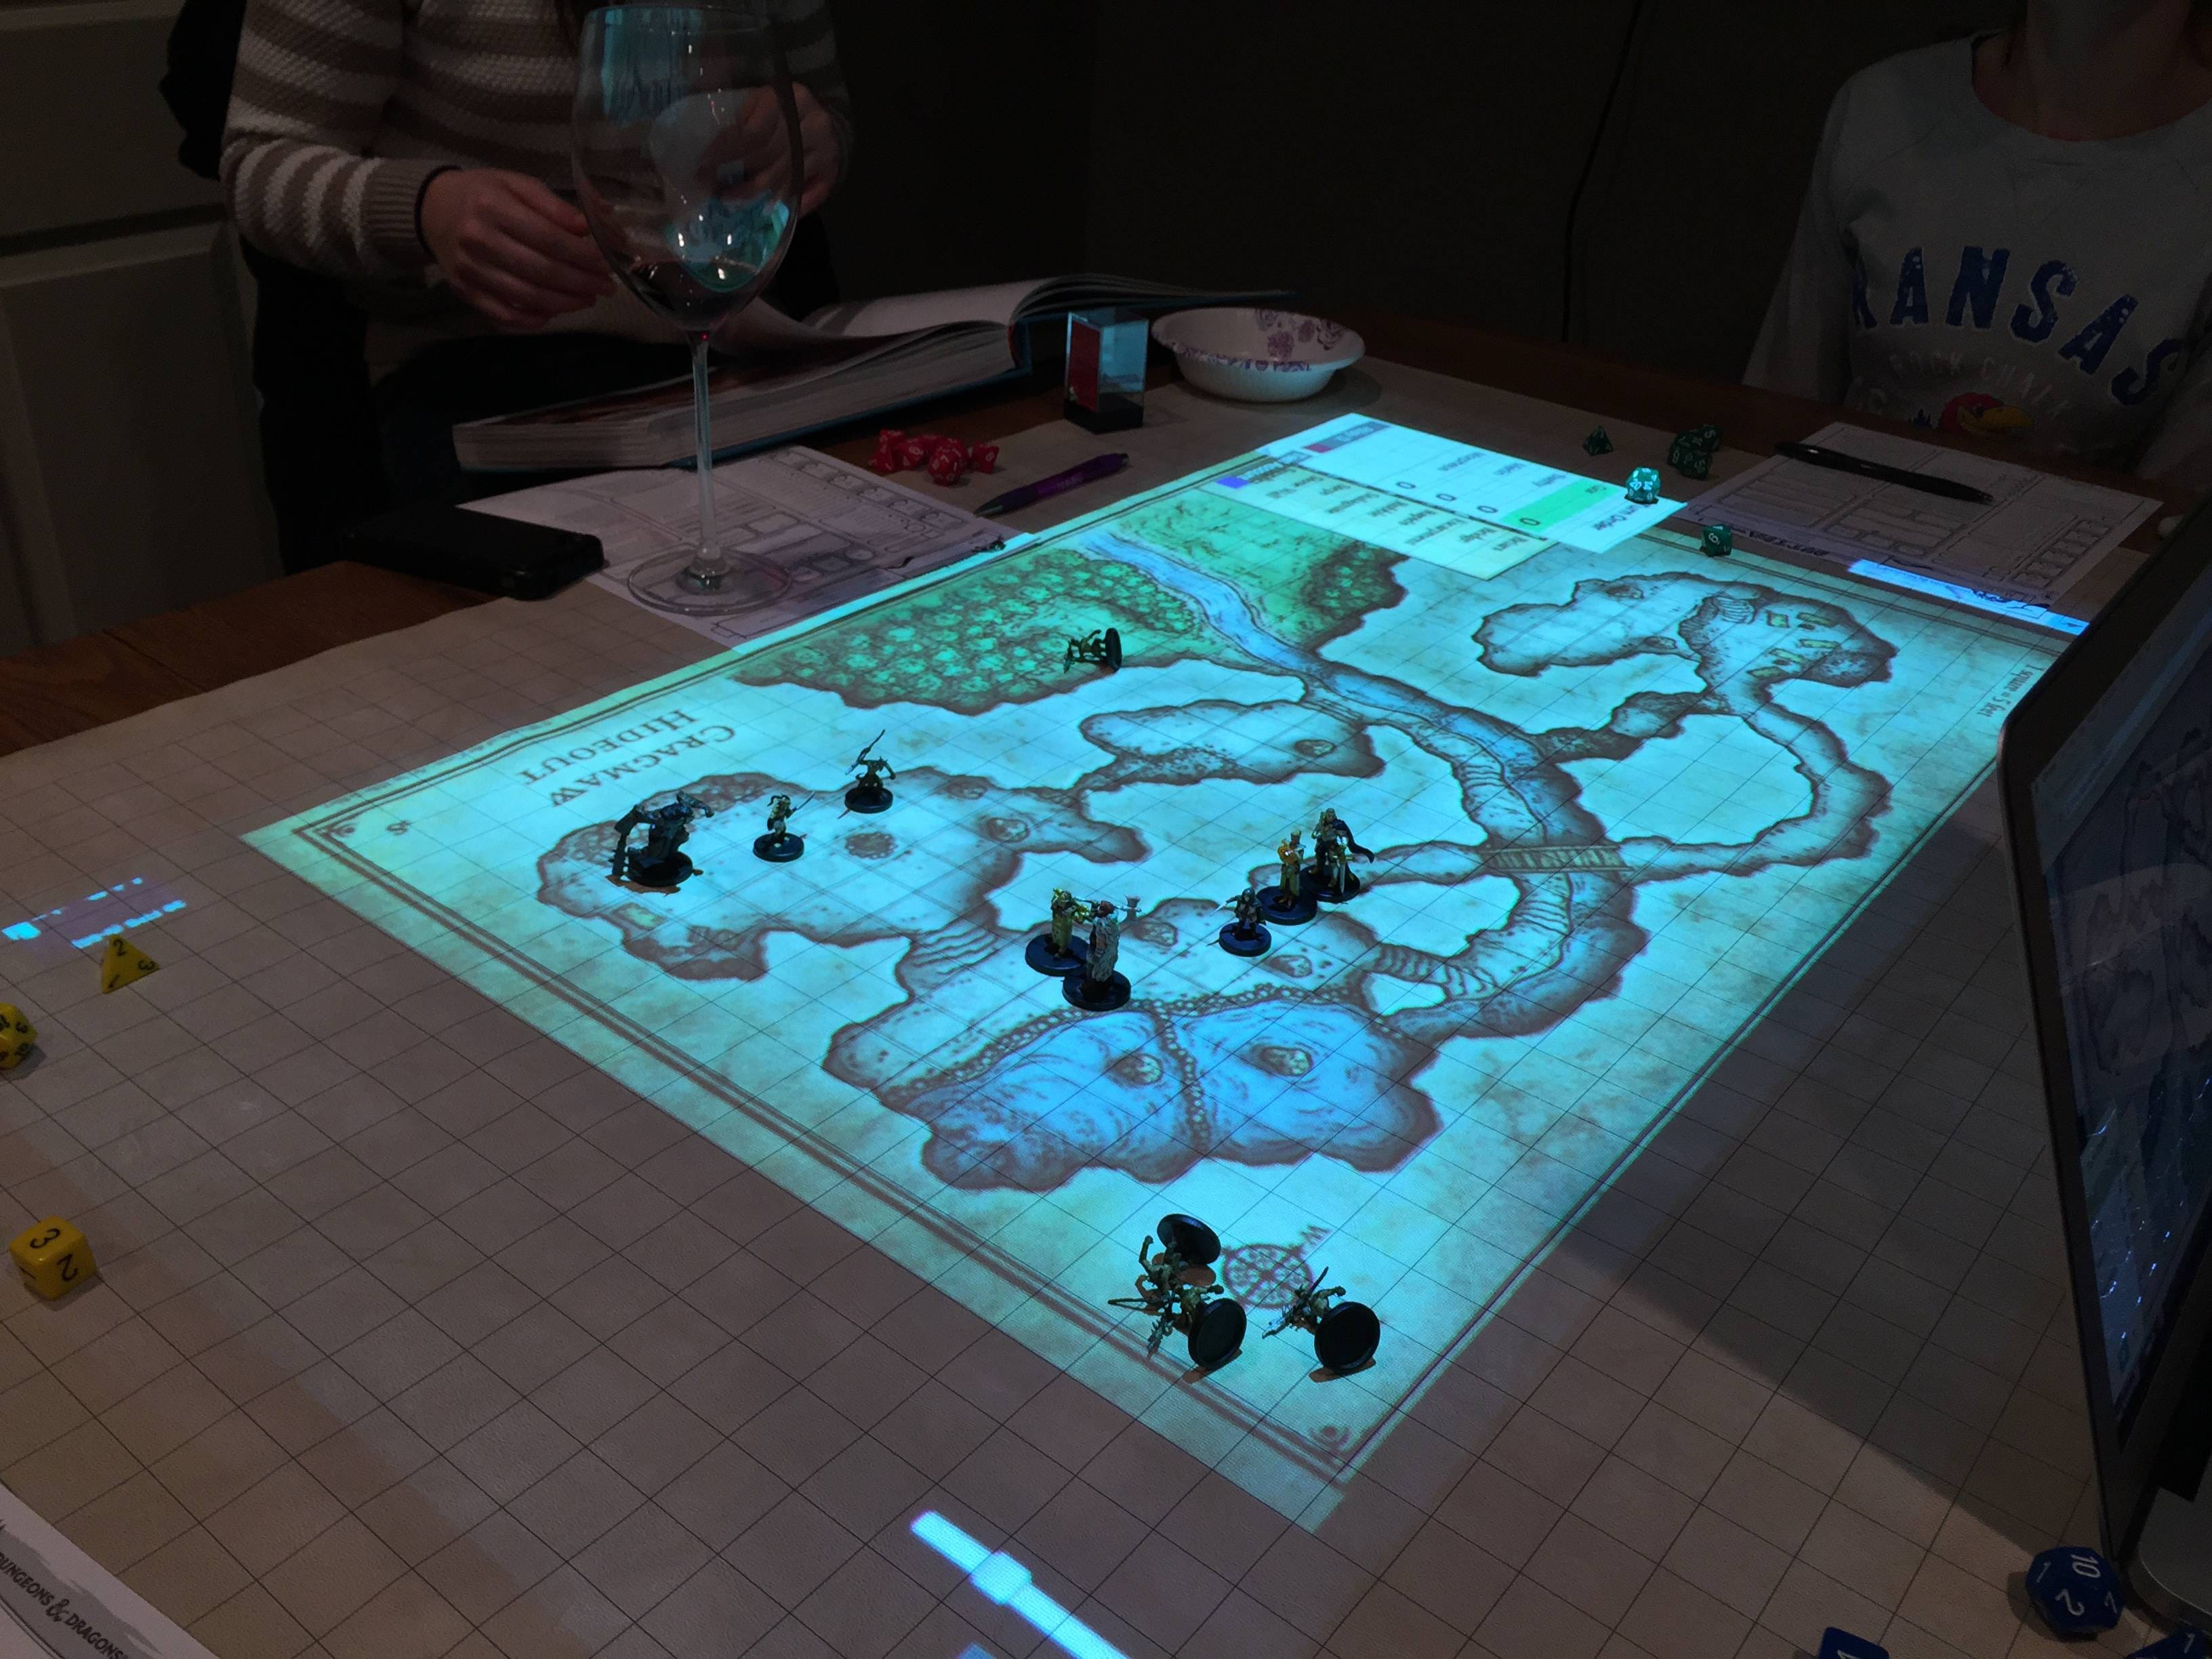
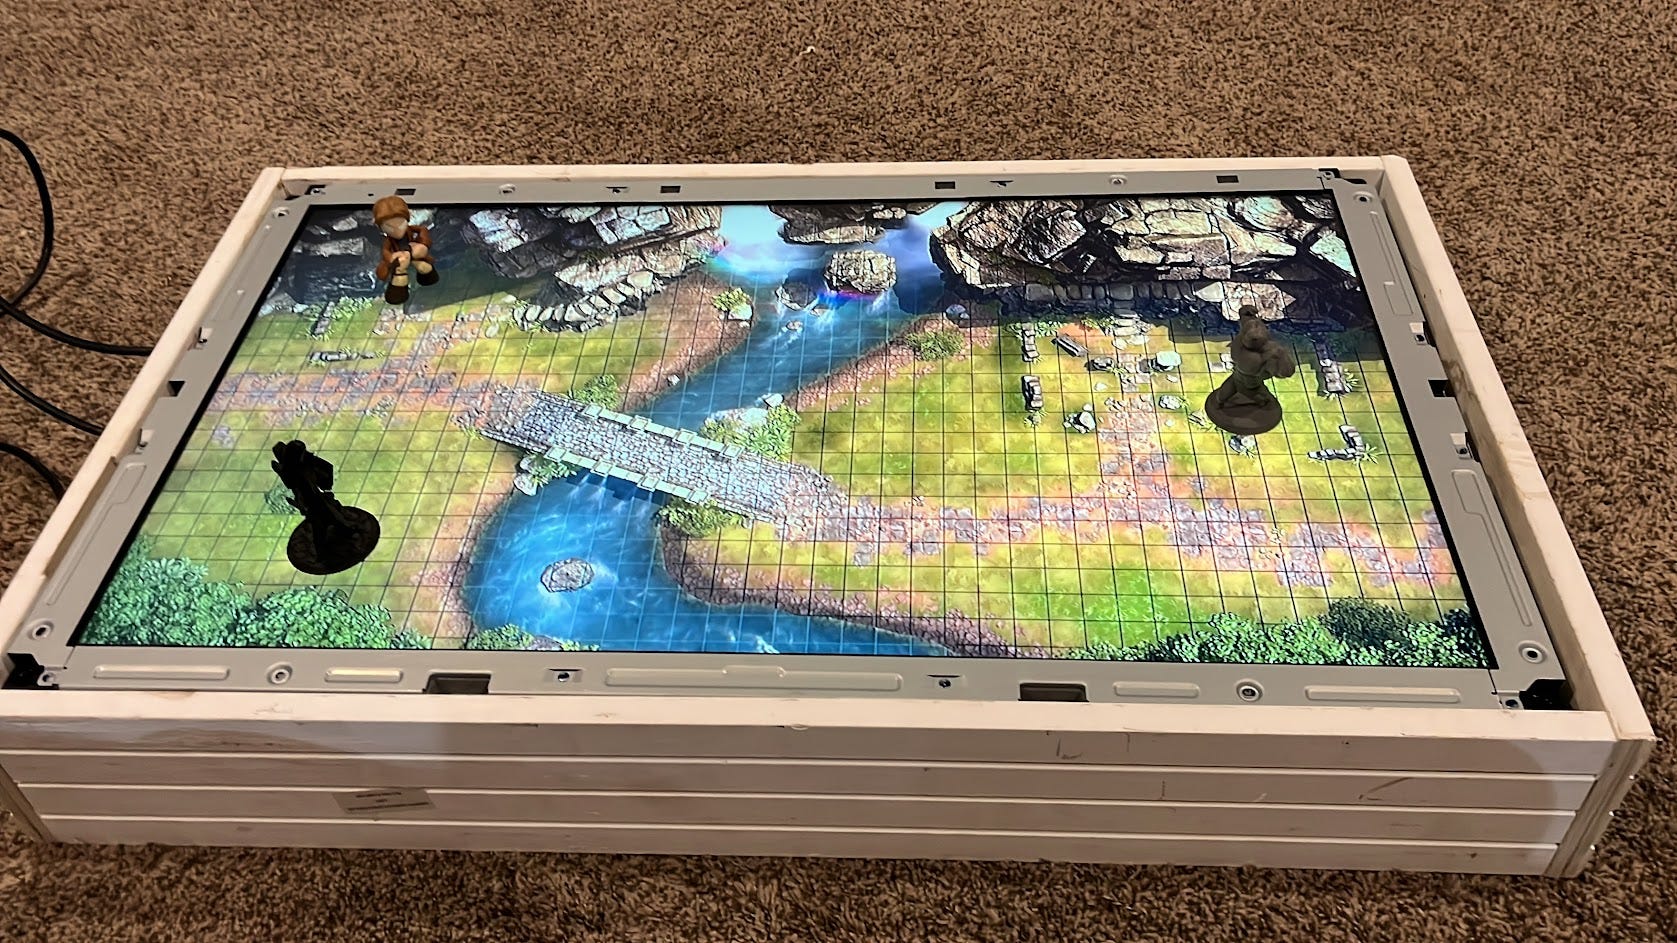
Once everything was roughly assembled to the frame, I tested the system to make sure everything works. I was SO EXCITED at this point, as I could start to see this project take shape.
Step 3: Paint
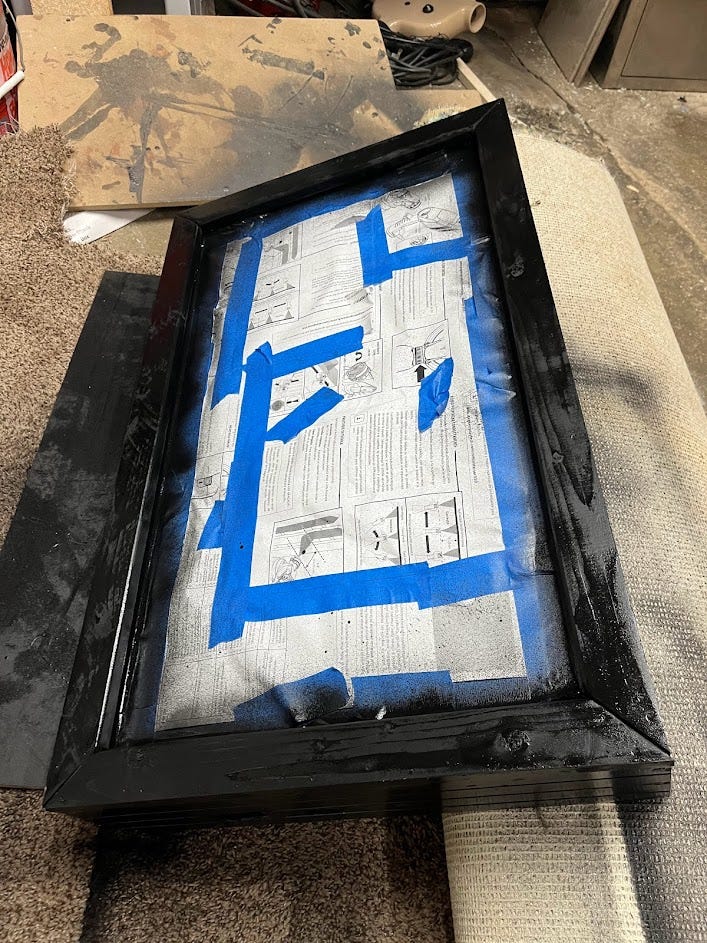
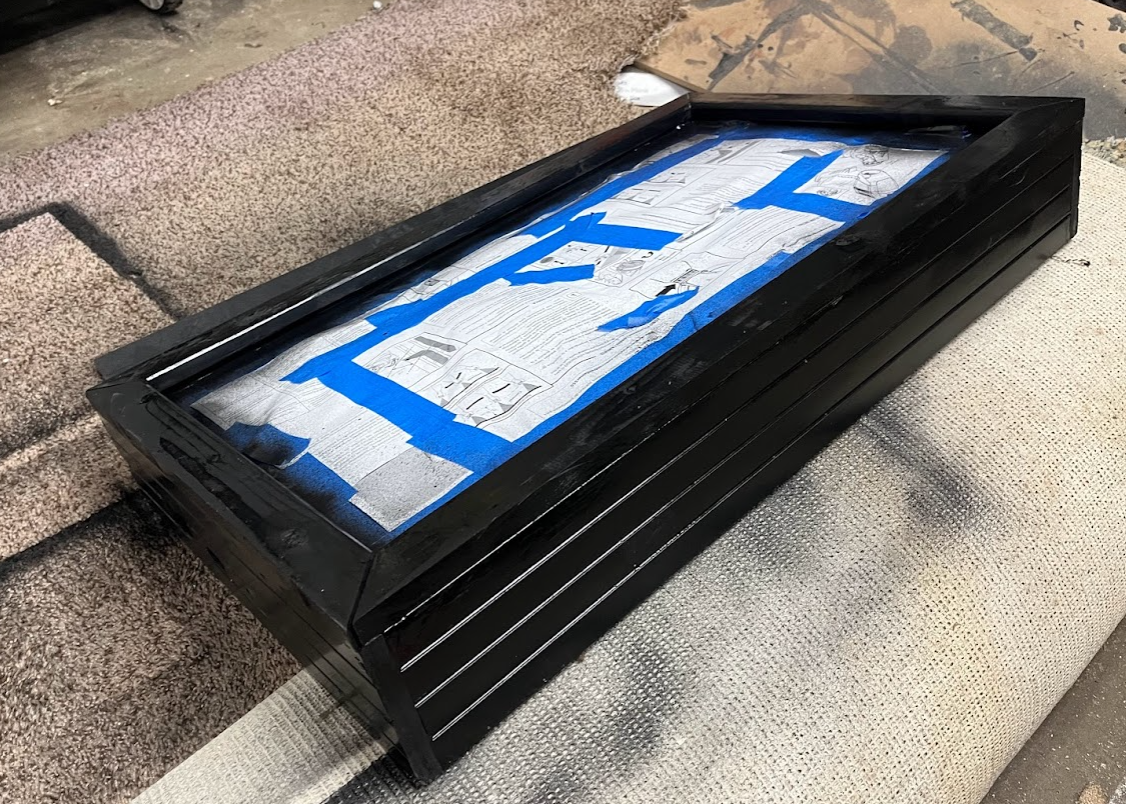
With everything in its proper place, and the screen tested and working, I was able to apply a couple coats of black spraypaint to clean up the looks.
Unfortunately, due to the design I went with, I had to paint it with the screen installed, but I made sure to generously cover the screen with painters tape and paper to ensure that no paint would get on the main screen.
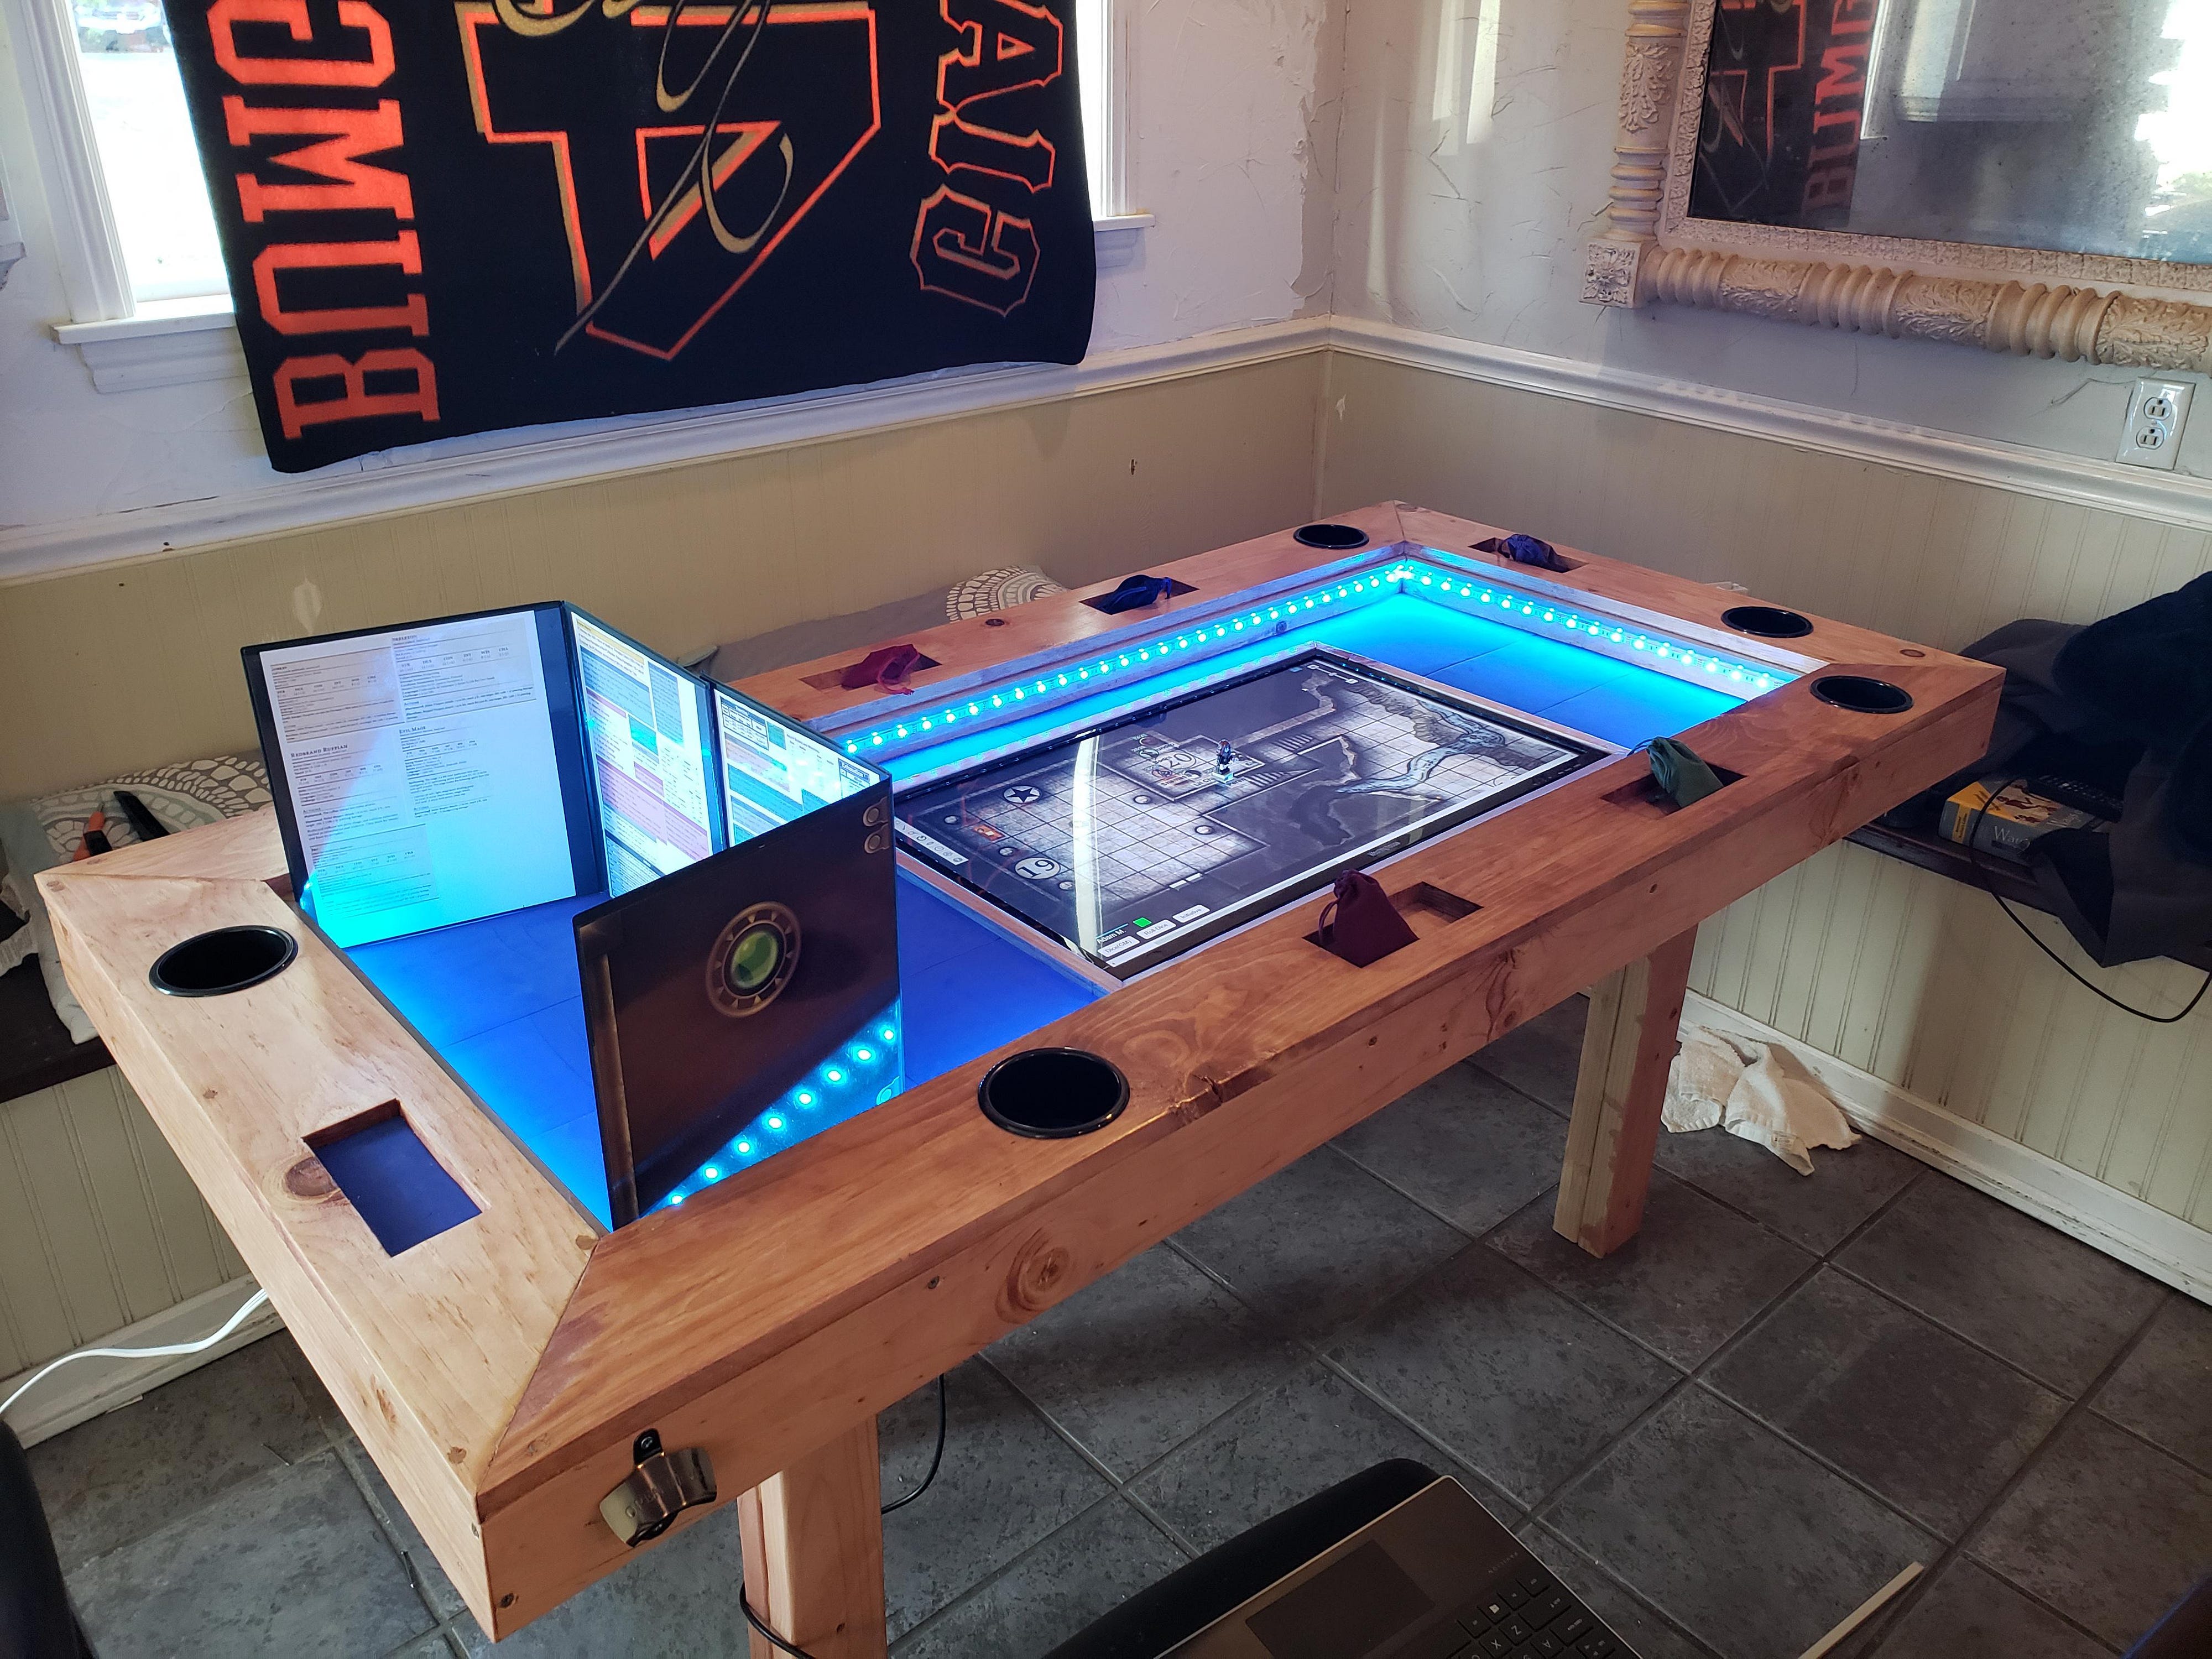
I added a few more 3D printed parts. A button to turn on/off the display, a large handle to carry the screen, and a couple mounts to secure various circuit boards/components on the screen. Lastly, I cut a scrap piece of MDF/plywood to fit as the backing of the enclosure to hide away all the electronics guts. I spraypainted it black to match, and sealed it up with a drywall screw at each corner incase I needed to access it in the future.
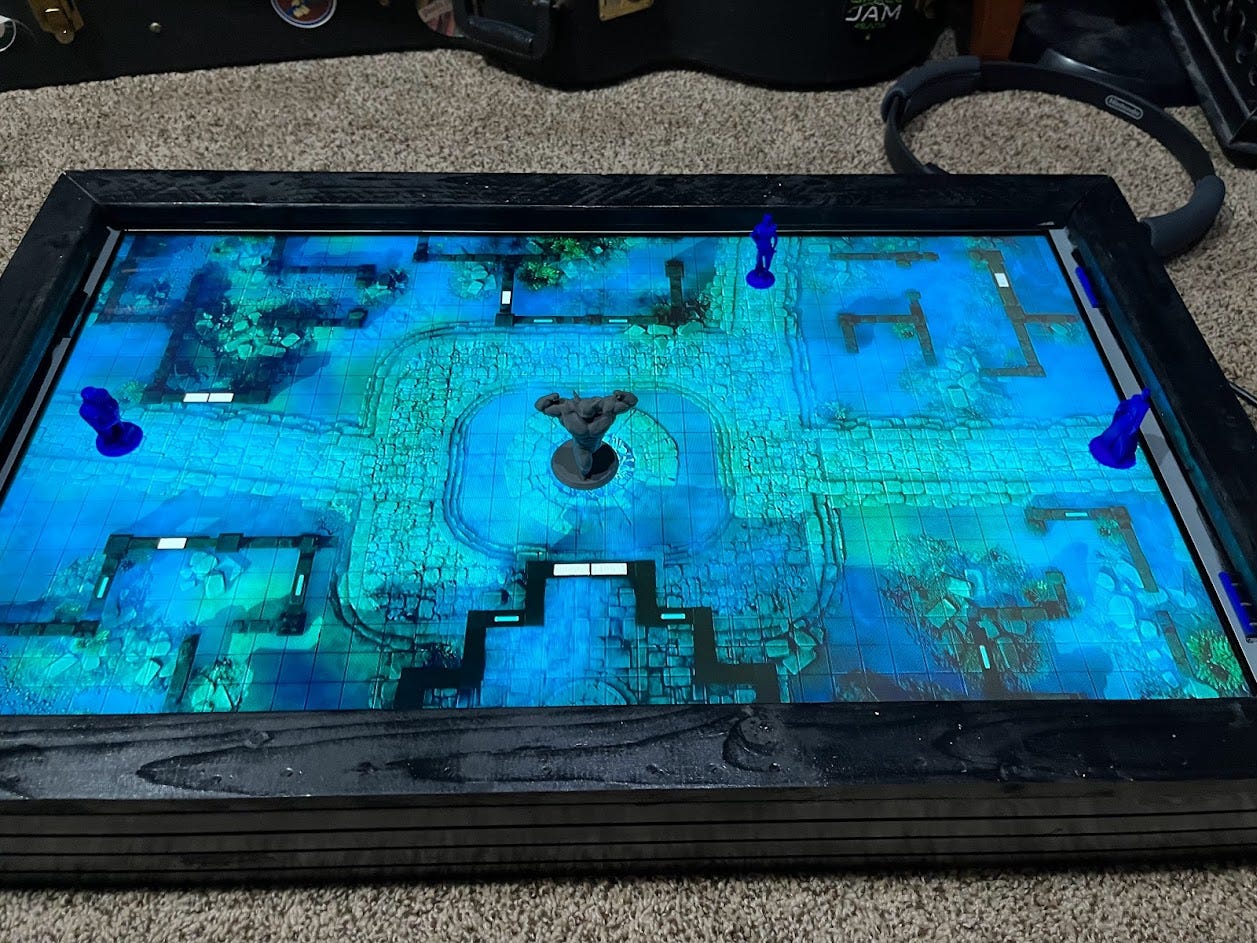
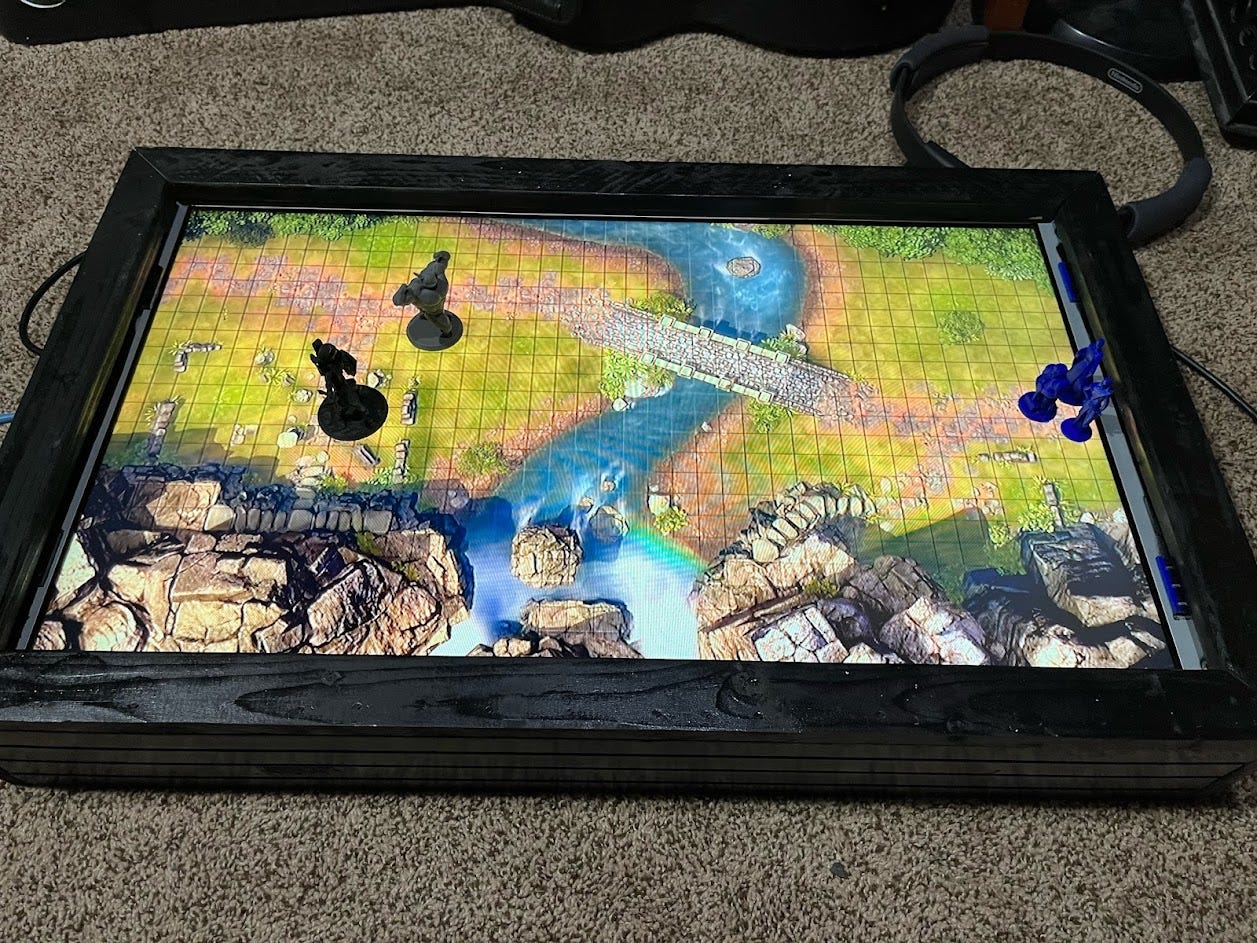
The finished result was fantastic. I am so pleased with how this project turned out. The whole frame and screen is a bit heavier than I’d hoped, but not too difficult to move around as needed. If I wanted to, I could have made the frame smaller, and lighter, but this works just fine and perfectly suits my needs.
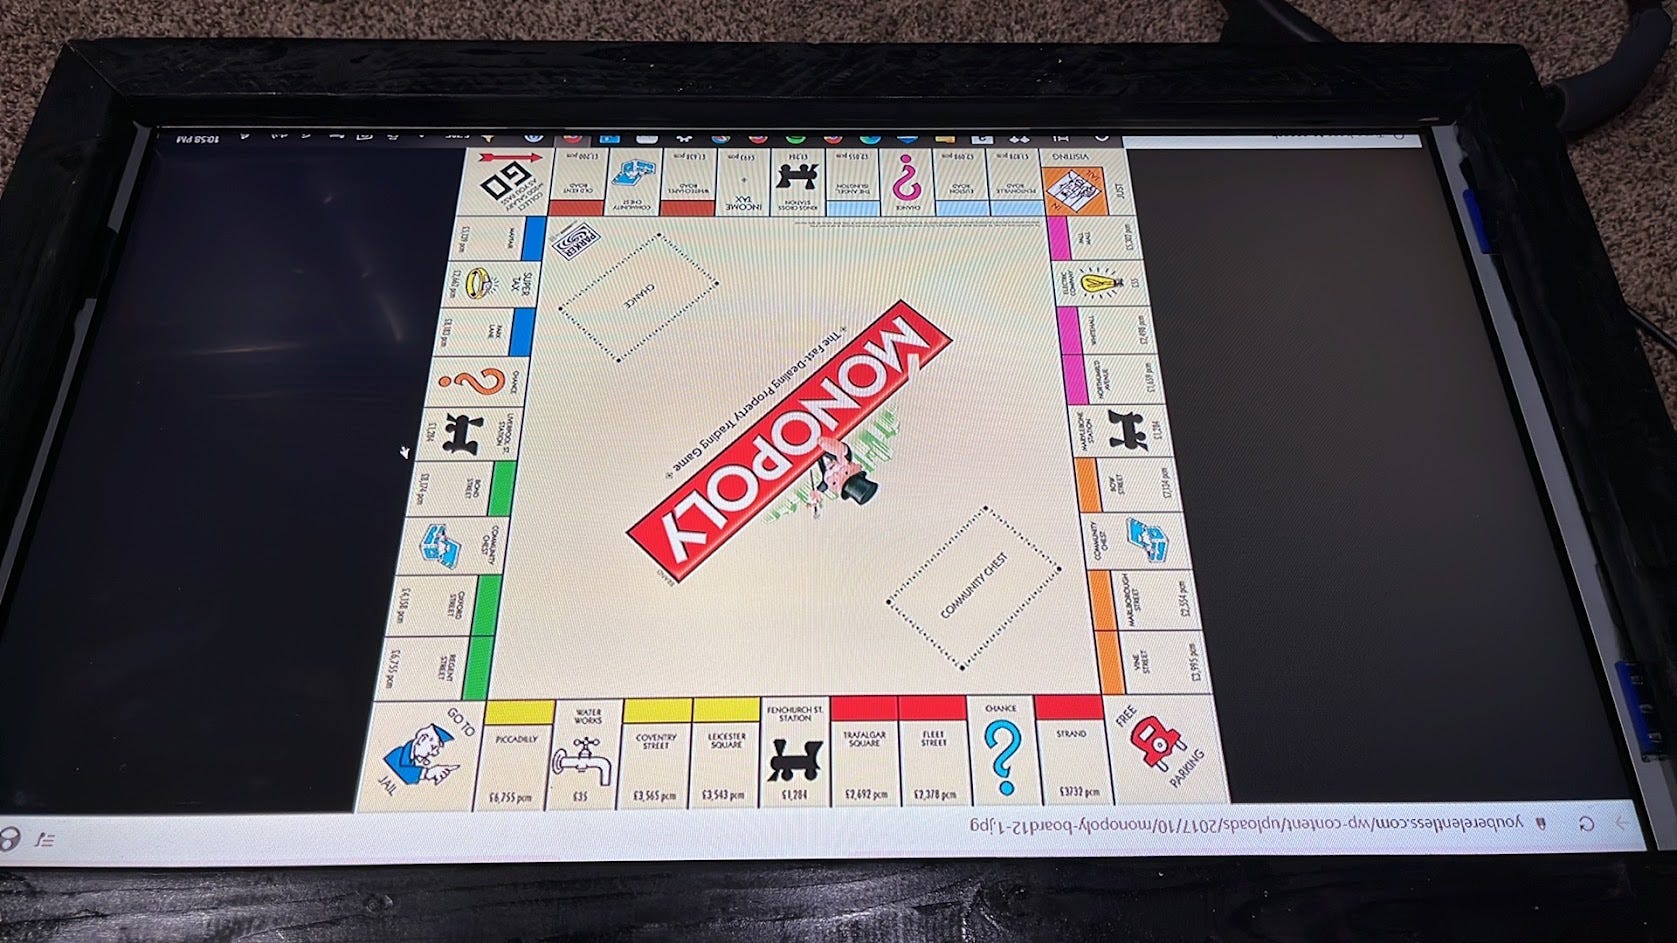
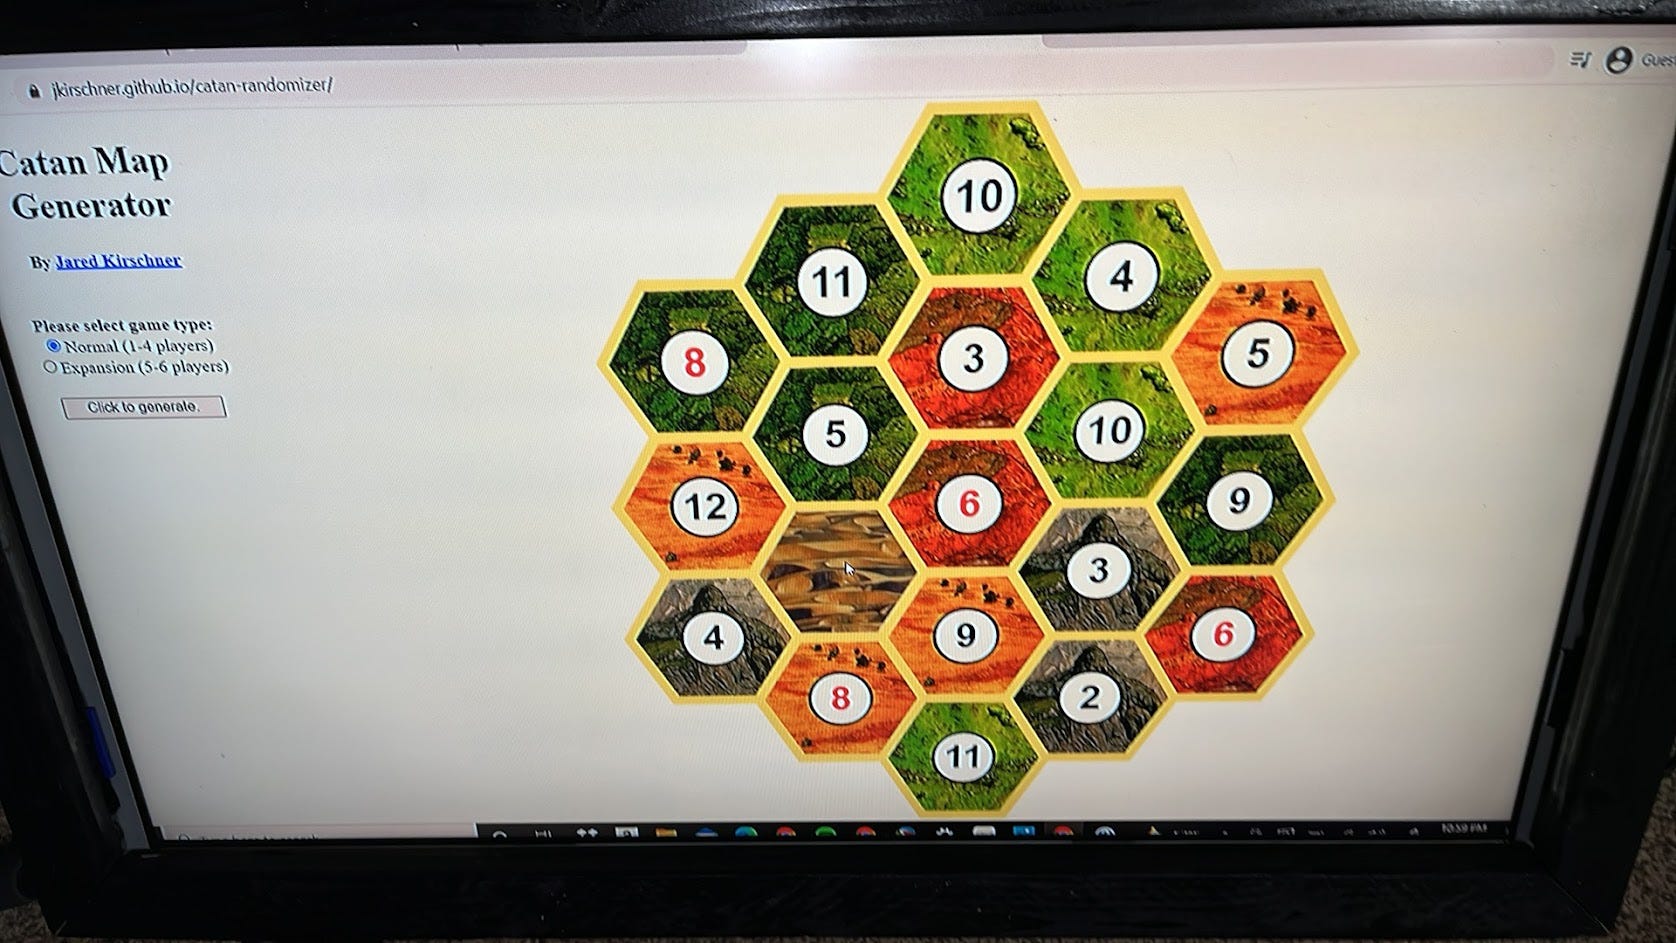
Additionally! I realized that this project had much more potential than just D&D. I can play chess, monopoly, catan, and many more! Kudos to jkirschner for this awesome Settlers of Catan autogenerating/randomizing map site! https://jkirschner.github.io/catan-randomizer/
I completed this project over a couple weekends, but given the proper time uninterrupted, you could complete this project fairly easily in a weekend. If you are looking to take your D&D/board games to the next level, try this project out.
I have a quick tiktok to show some of the cool features of this project.
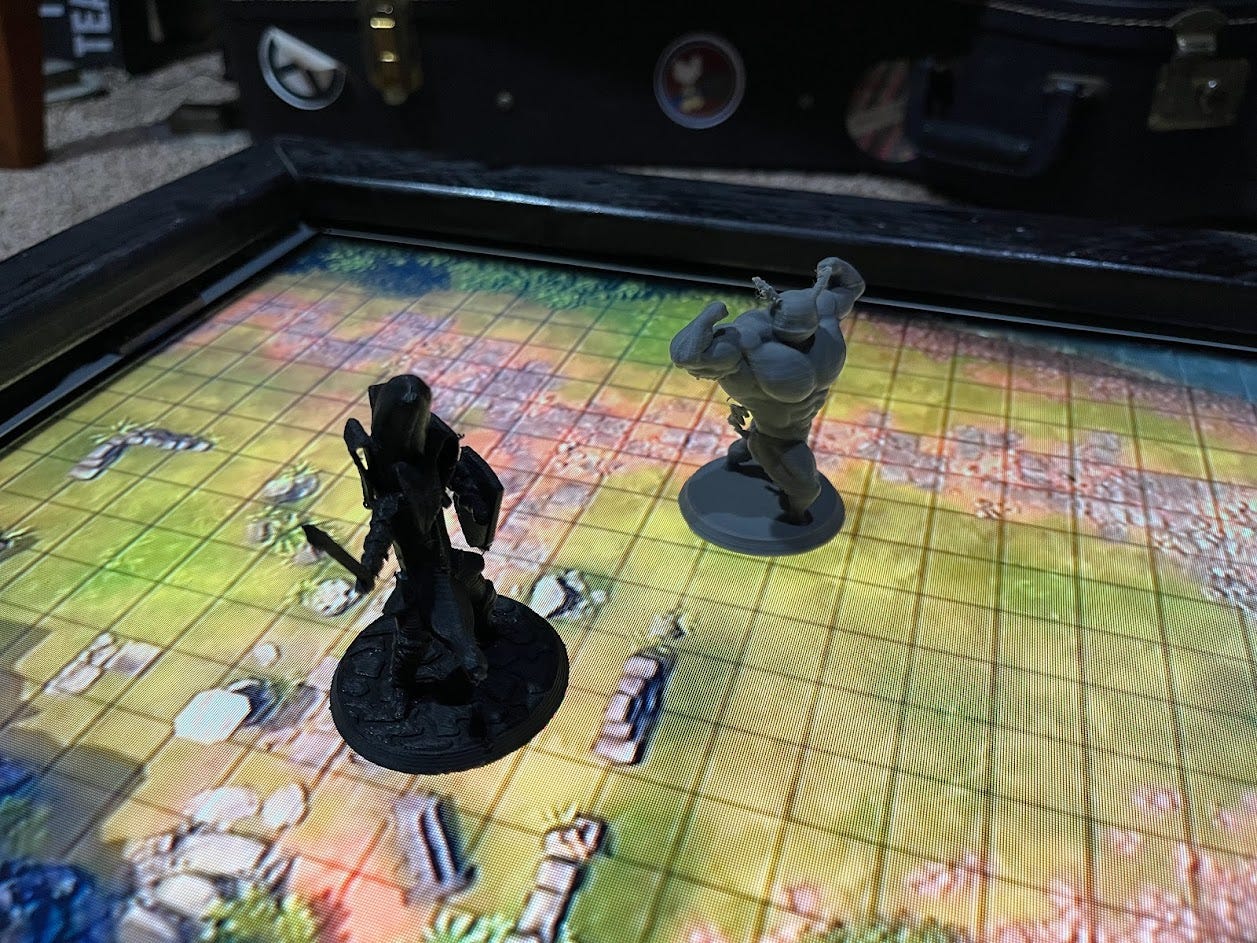
There are a ton of free and paid resources online for DM’s such as this Animated Battle Map playlist, as well as many other free static roleplaying game maps from the community.
If you enjoyed this project, please let me know. I’d love to see the dungeons and dragons stuff that you guys have built too.
Until next time,