
TinyFX — PiFX Board Update—Why can’t I finish a project?

Many of you will recall my post about the PiFX Guitarix Multi-Effects Board I was building last year. Firstly I’d like to say a huge THANK YOU! to everyone who read my blog post about the project. I was even featured on Hackaday at one point, something that still blows my mind today. Thank you for your support!
Anyways, I am still working on the PiFX Multi-Effects board, however, I’ve taken a bit of a break from the project since the Raspberry Pi 3b+ I was using at the time shorted out. RIP. So until I get another Pi, the project is temporarily on hold. In the meantime, I’ve been utilizing my Monoprice Select Mini V2 3D printer, which was used in this side project.
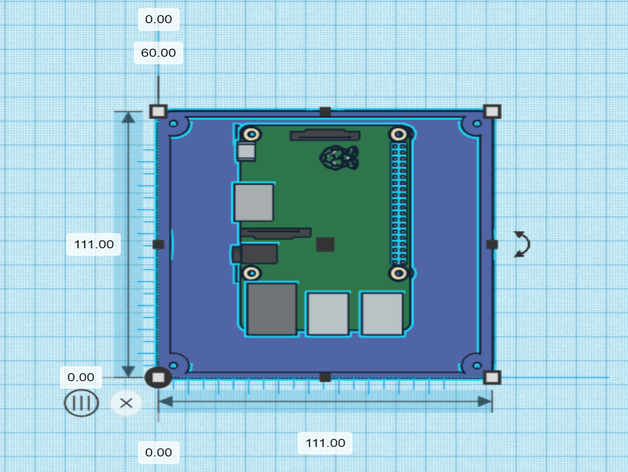
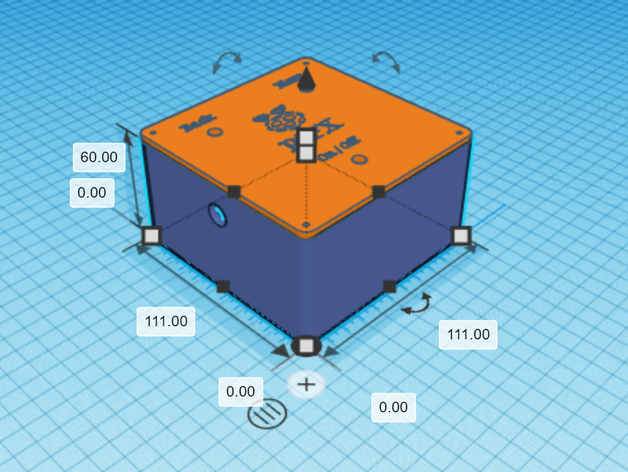
While working on the original full multi-effects board I’d thought it would be cool if I could make a minimalist, super compact, scaled-down, version of the full board. Something that could maintain most of the functionality of the board, in a much smaller footprint; the size of a large guitar pedal. I started tinkering around in TinkerCAD; a free online modeling software to see if I could fit everything in the case, and then be able to 3d print it on my small 200x200x200mm footprint. Based on the dimensions, it seemed this would be possible.
Parts List
-
Raspberry Pi 3b+ (Rpi4 would probably work as well) ~$57
-
USB Hub ~ $7
-
Keyboard ~ $9
-
3D Printer (or access to one)~$220
-
3 x Momentary Foot Switches ~$3 each
-
2 x 1/4” jacks ~$0.50 each
Total: $93.00 (excluding 3d printer)
To put this price into perspective, a “dumb” guitar pedal such as the Big Muff that this project enclosure is based around, can easily range $100+. Pedals are expensive y’all.
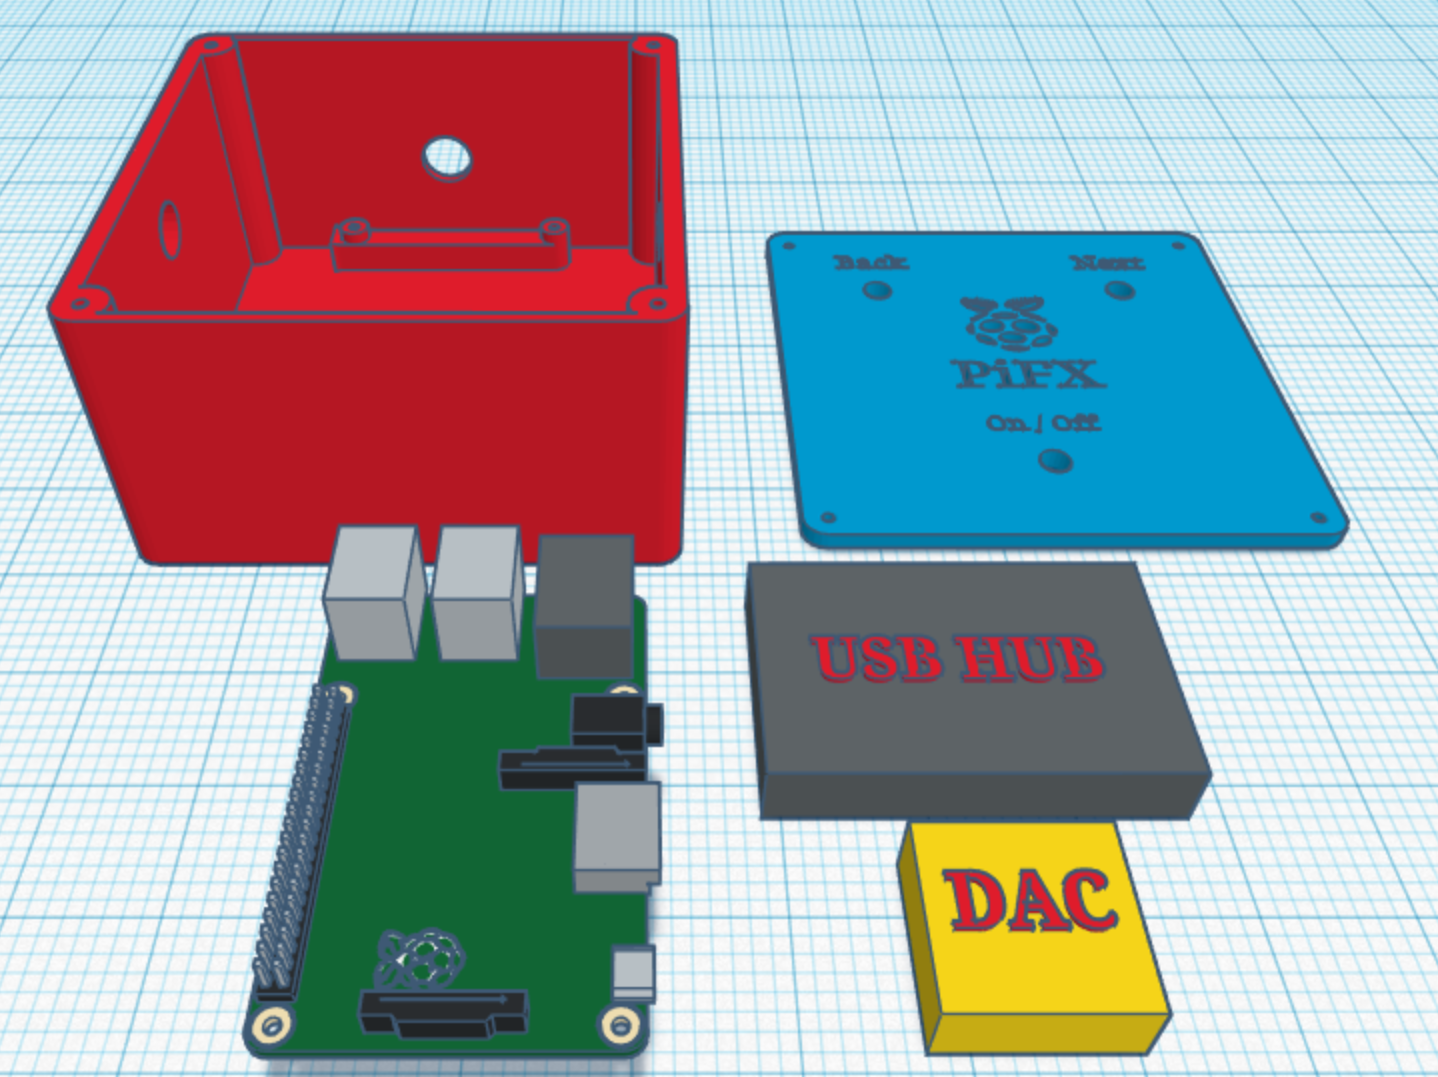
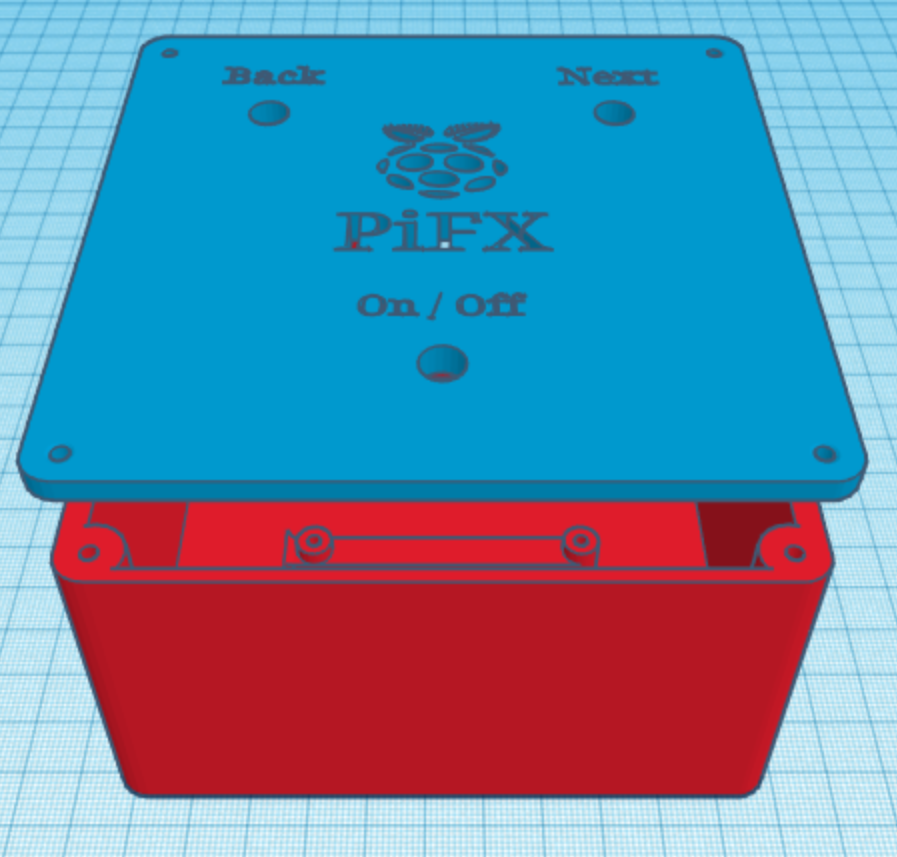
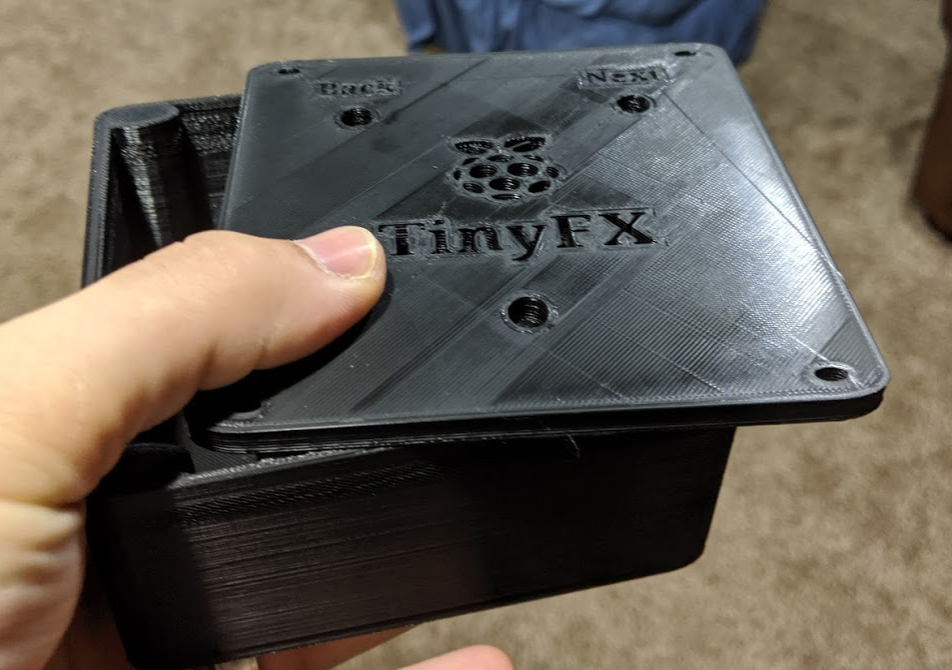
After some time I was able to modify an existing 3d printed guitar pedal design into the size/shape I required. I designed some rails for the pi to be mounted, and then everything else could just be tucked away inside as neat as possible. Obviously I had to come up with a catchy name for such a gadget too: TinyFX
Here’s the Thingiverse link for those interested!
The concept is very simple, yet works the same at the core as the full pedalboard. Guitarix autoboots on the pi, which gets I/O from a USB DAC, but instead of using 10 different input switches/toggles, there would only be 3. “Next”, “Back”, and “On/Off”, or something similarly named. The “Next” switch, as the name implies, would cycle to the next preset/patch within Guitarix. Conversely, “Back” would cycle back to the previous one. Lastly, “On/Off” would mute/unmute the signal. Next Step, Print it out!
Now that the pieces have printed out, I have my first prototype! The print wasn’t perfect, but at this point, I am still dialing in the settings on my printer. Either way, it works well enough as a PoC. Does everything fit as expected though? I installed the footswitches, and 1/4” input/output jacks, and began assembling the pedal.
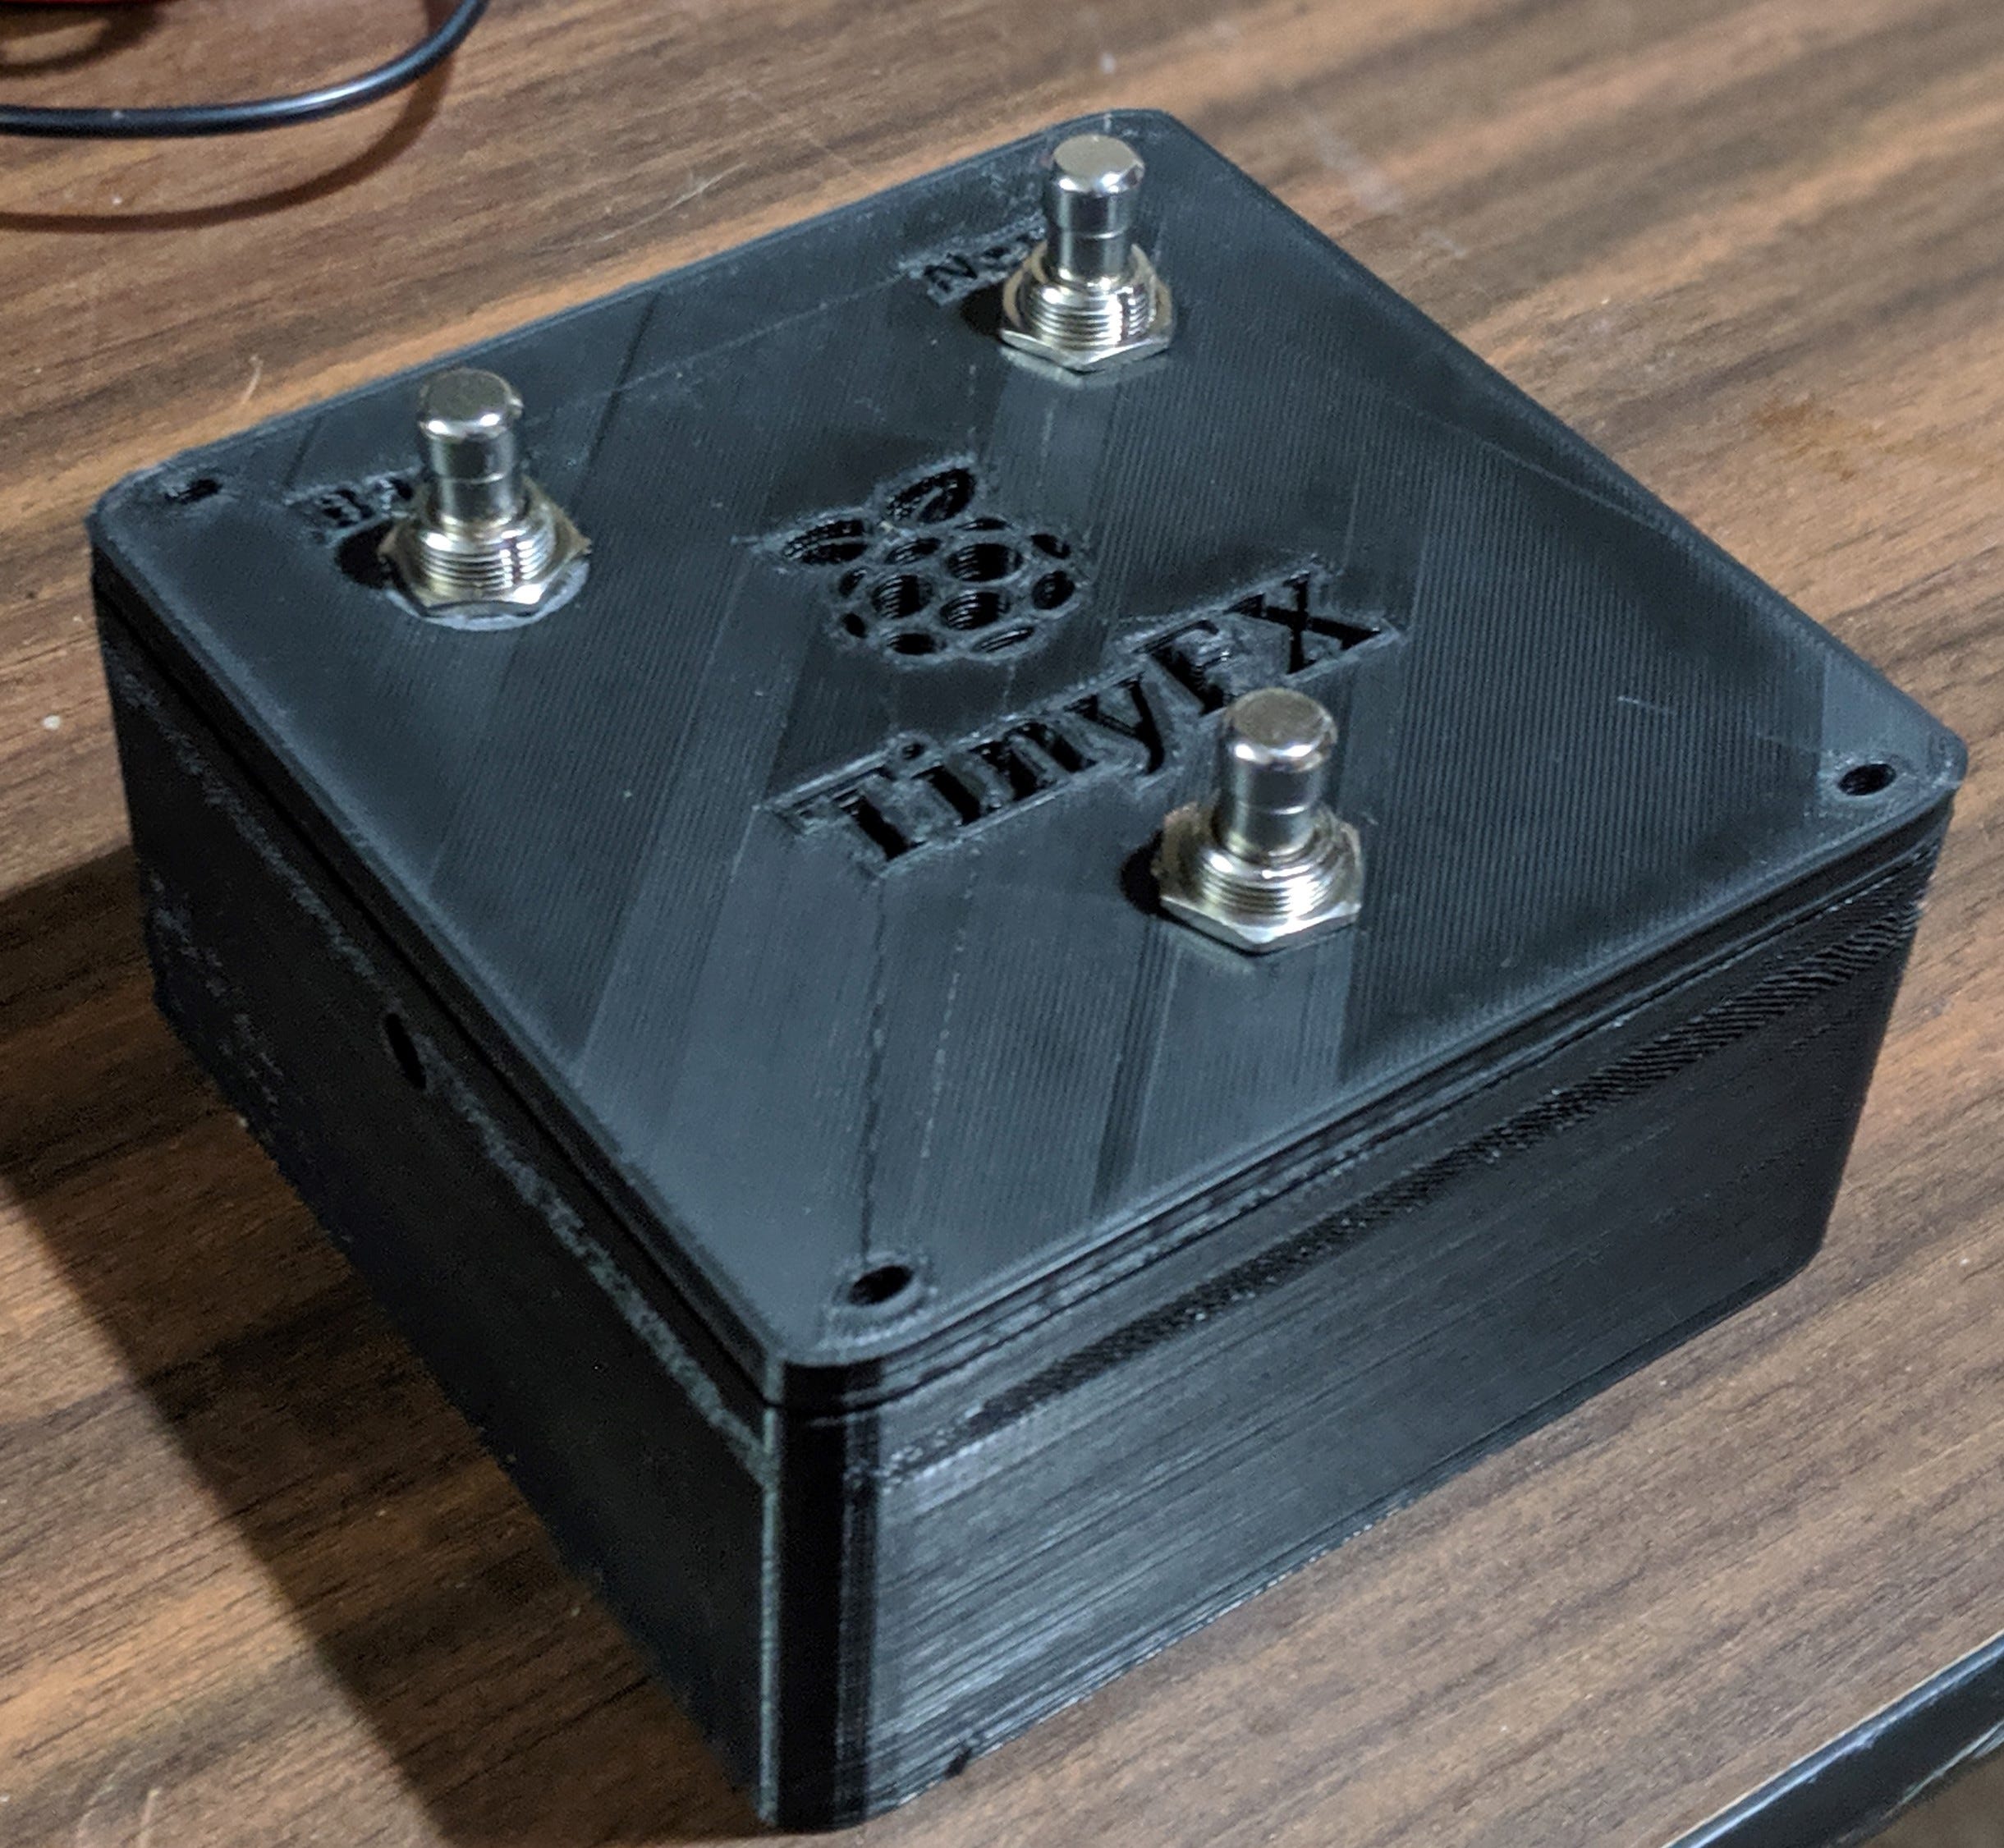
I don’t have a picture of it, but unfortunately, all the components do not fit inside the housing as I’d hoped. This is mainly due to the USB Hub I need to use for the system to work properly. The old keyboard that I cannibalized to route the footswitches to the hotkeys within Guitarix seems to have trouble with the pi every time it reboots. When I connect the keyboard directly to the Pi, whenever the Pi is powered on, Guitarix will load up as intended, however, the keyboard is not recognized by the pi. The only way I found to get around this was to either unplug/replug the keyboard after each boot; not ideal, or run through a USB hub, which seems to remain recognized through multiple reboots. Hence the need for a USB hub.
For V2 of this project, I’m gonna try to find a small USB hub with a right-angled USB connector. Additionally, I’ve made an updated version of the bottom shell of the pedal that is taller than before. If that fails I may look into directly controlling Guitarix with MIDI or GPIO pins or something, but that’s another project in itself.
With the death of my Raspberry Pi3b+, both the pedal and pedalboard are on hold at the moment until I get another one or ADHD hyperfocus strikes again. Until then I’m gonna be printing stupid amounts of Baby Yoda figures.
If you have an idea on how to solve the space issue, I’d love to hear ideas!
Hack the Planet
Thanks for reading!
Follow me on twitter if you want @Tibbbbz
Check out my main blog!